I apologize in advance for another gear related, non-dive-photo post, but I had to cancel out on diving today to stay home to watch over a couple of sick ferrets. (They are improving, so no worries there.)
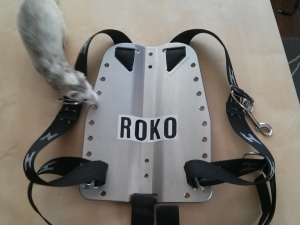
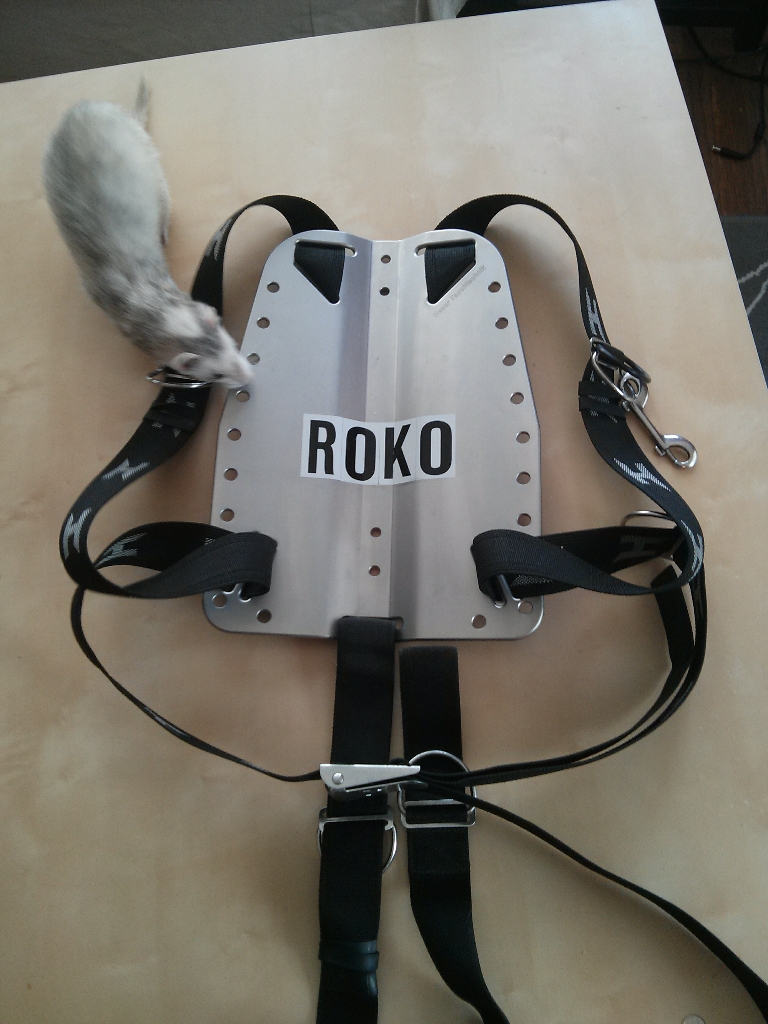
Ralphie inspecting my Backplate
Since I’m at home, I have been using the time to fiddle with dive gear, including finishing setting up my new Heser Tauchtechnik backplate and making a sheath for my super hi-tech IKEA dive knife.
A little while back I ordered a Heser backplate through my LDS. Shipping from Germany took a little while, so I just got it this past week. This backplate weighs in at a whopping 5kg (11lbs), and replaces my current aluminum plate which weighs in at a minuscule 2lbs. The original motivation for getting an aluminum plate was predicated on the assumption that I would be traveling a lot to dive when I lived in Alberta, and I didn’t want to carry a steel plate on an airplane and or dive with it in the tropics. An Al plate made perfect sense, back then. Moving to the west coast, with it’s epic diving, changed things somewhat and I suffered for years with a huge amount of lead — Sinking a Whites Mk3 undergarment takes quite a bit of weight. I’ve experimented with integrated weight pockets on the harness, and eventually settled to a heavy weight belt. Now with this plate, I get to take most of the weight off my belt – Quite a win. When I transition to doubles, I’ll only need to have a keel weight to keep me properly weighted.
The machining and workmanship on the plate itself is rather quite impressive, and the Project Baseline webbing looks swift. I’m happy with this purchase.

IKEA Dive Knife. Cheap, effective.
With the excess webbing, I finally made myself a proper sheath for my super-fancy, ultra-hi-tech IKEA dive knife. Now, a snapped-off steak knife is somewhat ultra-DIR, but I’ve found it to be a cheap and very effective solution. The motivation for this is that if the knife is dropped, there won’t be the same compulsion to go after it while in a nitrogen-narcosis induced stupor. At $2 a piece, they are cheap too. Not to mention the objective need for an over sized, pointed dive knife is somewhat debatable. So far I’ve found the IKEA stainless steel to be of high quality as well, with no rust after a lot of diving in salt water and minimal rinsing. I carry a Benchmade rescue hook and EMT shears as well when I dive.
Sewing the sheath in the stuff webbing worked easier than I thought it would. I just used a regular needle and thread, and used the weave of the webbing to my advantage when poking through.
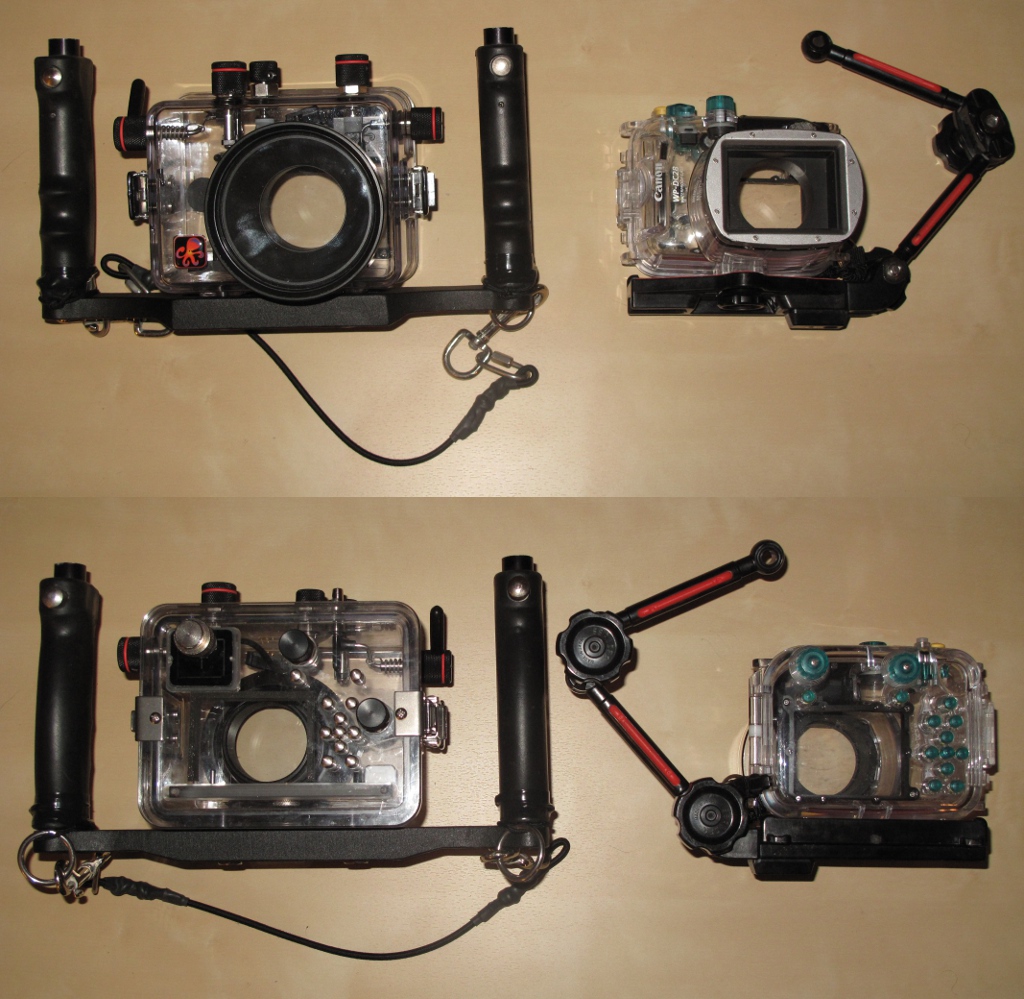
Stay tuned, I should have some actual dive photos up again soon. I’m planning on (finally) taking the camera out next time I go scuba or free-diving.


